Employee Self Service (ESS) is an add-on service that you can subscribe to along with your Clevertime system.
It allows your employees to manage their leave and view their timesheets via the web portal or CleverGo mobile app.
From the web login:
Step 1. Log in to the system as an employee
(if they are also a supervisor, a selection will pop up for logging in as supervisor or employee role)

Step 2. Leave request button
To apply for leave, click the "bell" icon on the top right-hand corner
It will bring you to a record of leave requested/pending
Step 3. Leave request page
To manage your leave from there:
"+ New" to add new leave request
"pencil icon" to edit that leave request
"rubbish bin icon" to delete that leave request
Note that the employee can only edit & delete any leave applied when it is under "pending" status. Once it has been approved by their supervisor, they will need to go to the supervisor to make any changes.

Step 4. Submit a new leave request
When adding a new leave request, the following details need to be provided:

- Leave Type: the type of leave that you are applying for
- Skip holiday & skip unscheduled: these might be defaulted by your company settings
- By time range: If this option is switched on, you can enter leave by the start & finish time, useful when it's only a half-day leave or few hours required
- By schedule: It might be defaulted by the company, however, it means that your leave hours will be applied based on the day's scheduled hours
- From & to date: Choose the required date or dates for the leave request
- Hours per day: If both by time range & by schedule are switched off, then you may apply for leave by specifying the hours with no start time or finish time
Step 5: Applied leave successfully
Click "Save" to submit the request and you will be brought back to the list with the leave in the "Pending" status waiting for approval, OR if incorrect information was supplied, an error message will be shown on the page instead for correction.

Step 6. Wait for approval
The assigned supervisor(s) will receive an email (from cbsysreports@gmail.com) for the leave submitted. Once it has been approved or declined, the employee will receive an email to advise the change of the status, or they can log in to their account to view it.
Supervisor email:
Step 7. Viewing the status
When a leave request is approved, you are able to see it from two places
1) Timecard (Timesheet)
2) Leave request page
Here is an example of approved leave in the timesheet, the green box and ACC 8 hours down the bottom of the time card.

Here is an example of viewing the approved leave(s) on the leave request page & email.


From the CleverGo mobile app:
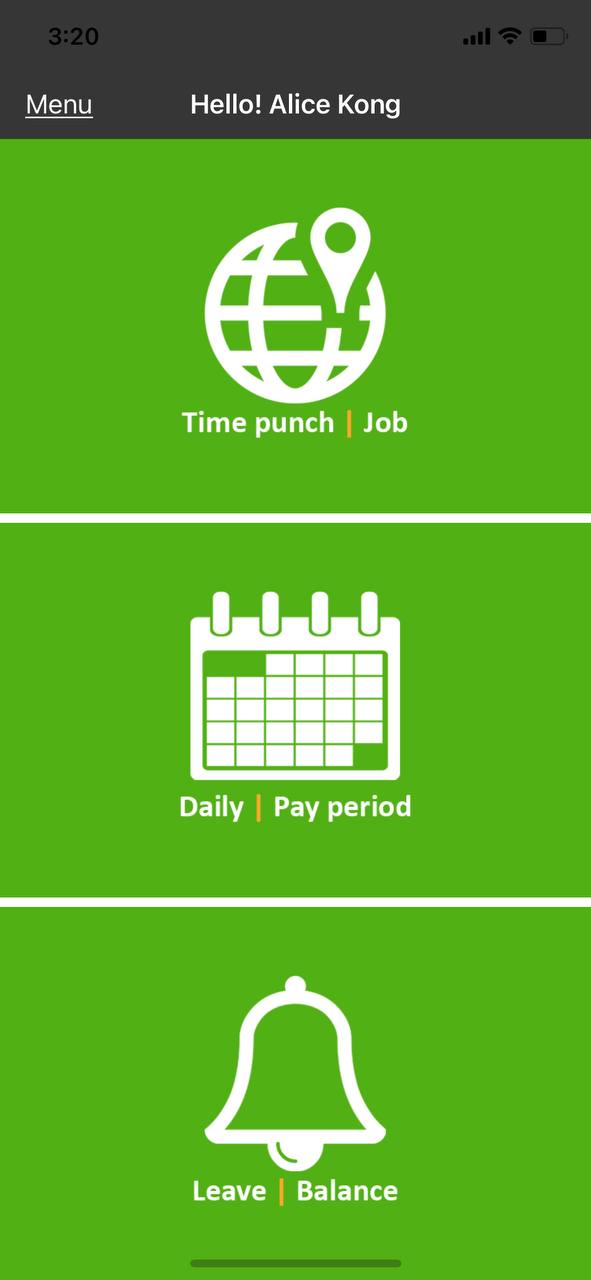
Step 1: Login to the app
This will require sufficient mobile data & location services to connect with the server.

Step 2: Select Leave/Balance option

Step 3: Fill in the leave details & Submit

Step 4: Notifications & approvals
The assigned supervisor(s) will receive an email (from cbsysreports@gmail.com) for the leave submitted. Once it has been approved or declined, the employee will receive an email to advise the change of the status, or they can log in to their appto view it.
